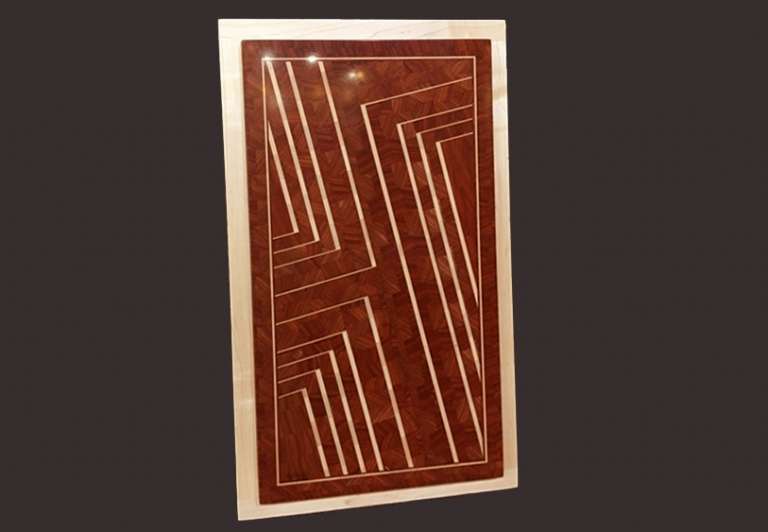
Stages Of Production
The production process starts with rough, un-planed lumber bought from a hardwood lumber supplier. All pieces are made from solid hardwoods approx. 1 1/2” thick mounted in a 3/4” thick frame. None of these pieces is made using inlays or veneers, and no dyes or stains were used. All species used are shown in their natural colors.
Each finished piece of EndGrainArt is built one section at a time (below) making separate glue ups for each strip added to each section. At least 90 minutes dry time is required between glue ups… a time consuming process. The more complex pieces can have 40 or more separate glue ups. Total production time (labor) from start to finish can range from 25 to over 50 hours for each piece.
Once the layout is totally constructed with all glue-ups completed, the panel is sanded flat on both sides starting with 120 grit to 400 grit sandpaper. The board is then sealed with several coats of sanding sealer followed by spraying 4 coats of clear lacquer, with light sanding between coats. The final coat is sanded with 800 grit to a flat sheen, then polish is applied and buffed to a mirror finish. A “french cleat” is attached to frame for a secure wall mount.
1. Starting with rough lumber as bought from a
lumber company cut to length.
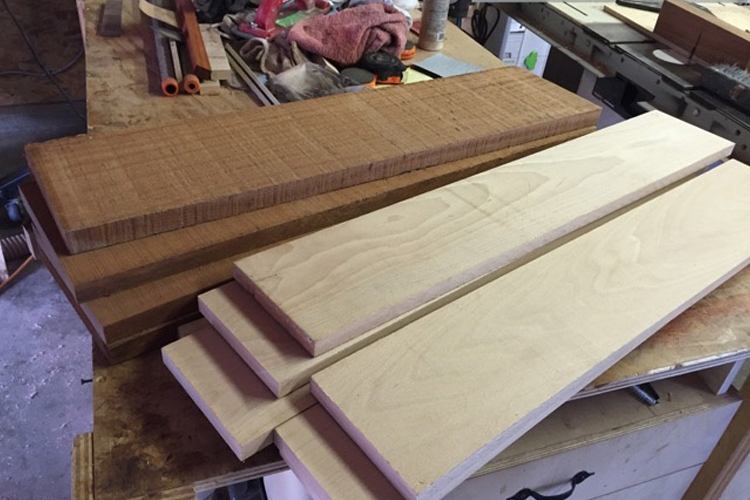
2. Boards are planed smooth and cut into strips
of equal thickness.
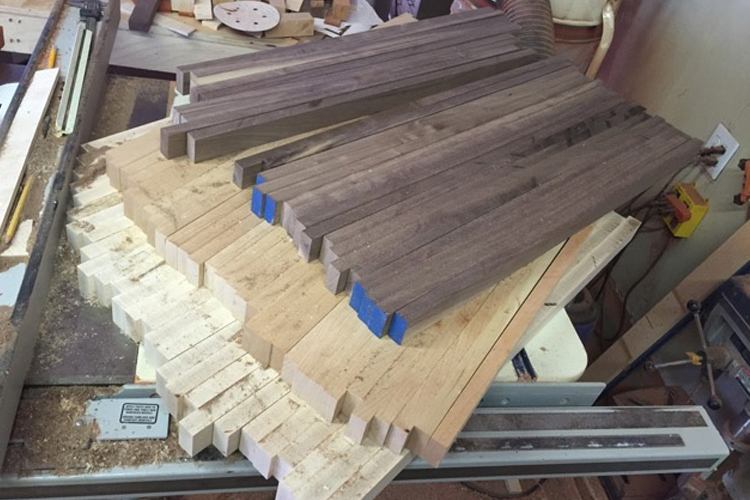
3. Cut strips of each wood species are then glued together (first glue up) to form panels.
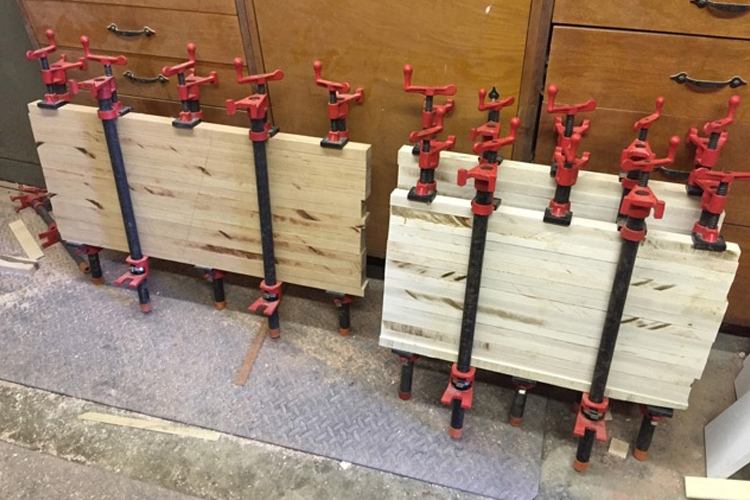
4. Glued panels are planed smooth, cut cross-wise into strips and turned 90 degrees to expose the end grain.
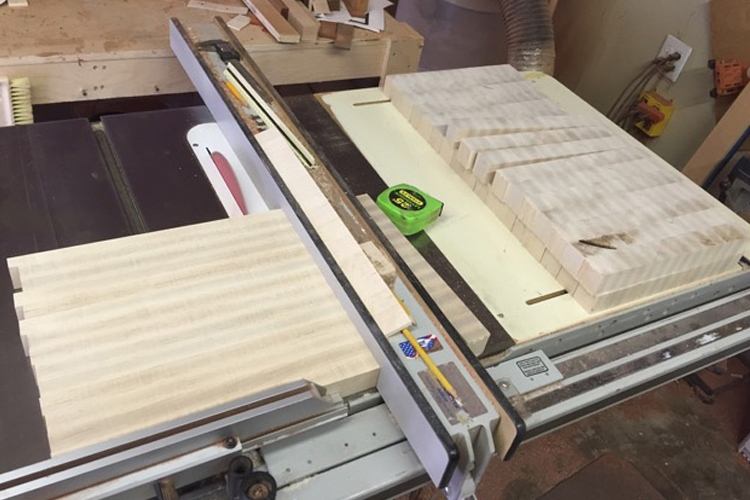
5. End grain strips are glued together to create end grain panels of each species used in the design layout.
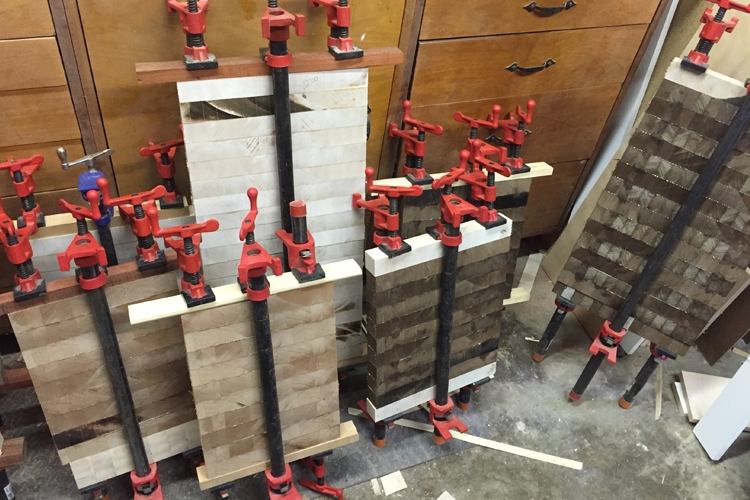
6. Strips from each end grain panel created are then
cut to proper lengths and thicknesses as specified in the
layout to build the final piece.
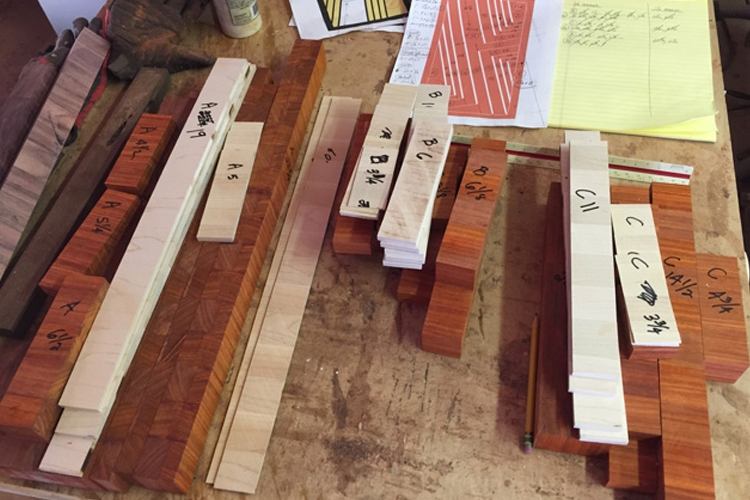
7. Each section is built in stages piece by piece requiring separate glue-ups for each added piece.
Layout shown contains three major sections .

8. Each new piece glued is then trimmed flush
to provide a flat surface for each subsequent piece
to be glued until each section is completed.
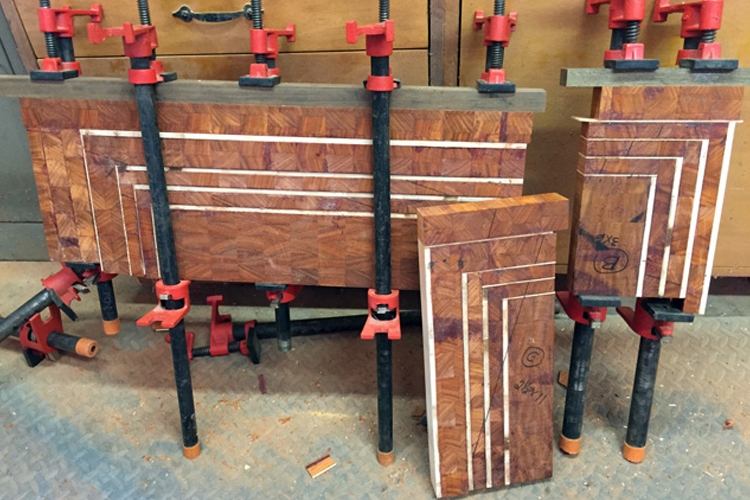
9. Process continues until each section
in layout is completed.
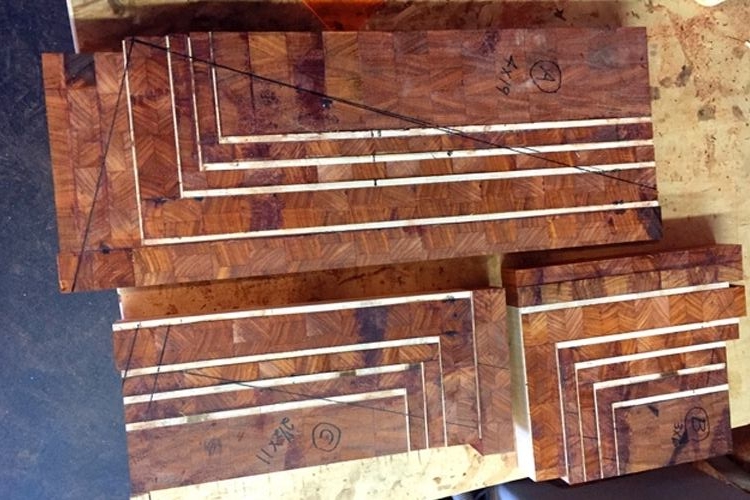
10. Completed glue up of the three major
sections in pipe clamps.

11. Template is used to indicate trim marks of completed sections to match layout.
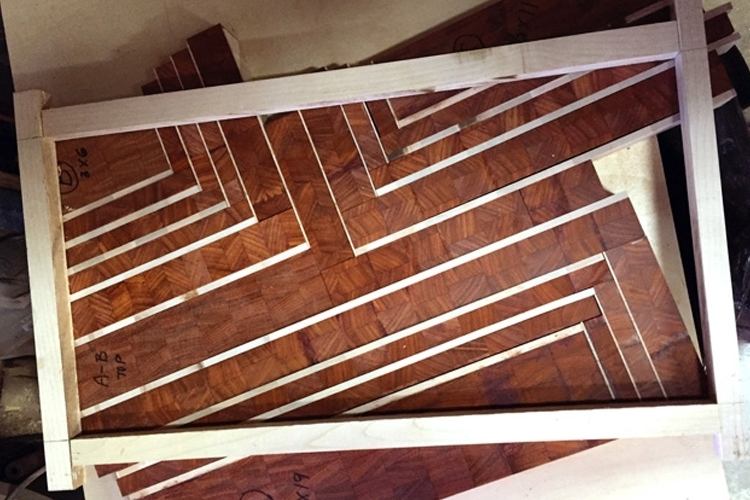
12. Layout of trim marks using template.

13. Glue-up is trimmed to final size.

14. Border added to complete glue-up in layout.
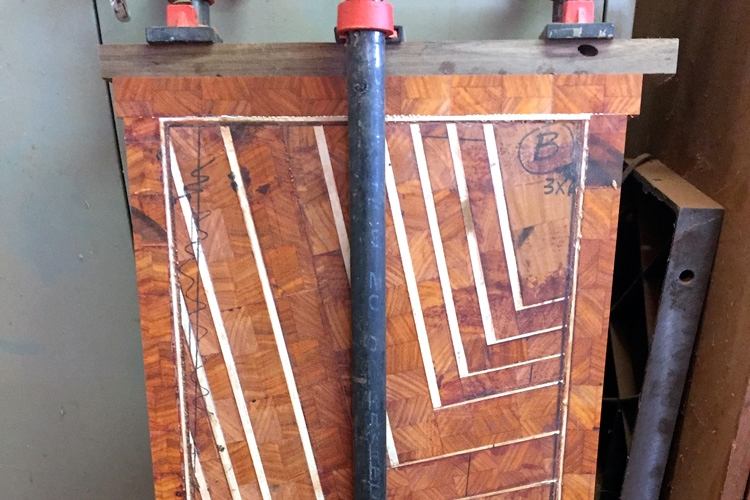
15. After border is added, finished layout is trimmed flush to square up corners.
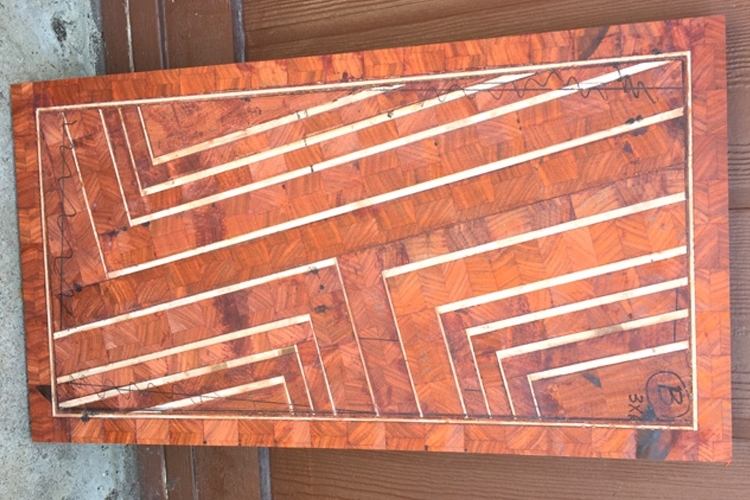
16. Finished glue up planed and sanded flat
to 120 grit.

17. Final finish includes sanding to 400 grit,
spraying 4 coats of lacquer, sanding to flat finish,
applying polish and buffing to mirror finish.

18. Finished piece in maple frame with
“french cleat” for wall mount.
